Commissioning a book cover is often a fairly streamlined experience for an author. Oftentimes, it only involves a single person: a cover artist, or graphic designer. That is the route I went with most of my previous covers. This time around, I was looking for a very different look. And because using stock images rarely gives you exactly the picture you’re looking for, I decided to tap into the artistic source directly.
I jumped into the world of comic book art, which uses a very different system of art creation. On most projects, a comic book employs an artist, an inker, a colorist, a writer, and a letterer. I found it fascinating, as the comic book world is full of awesome and talented artists, desperate to prove themselves. Thanks for social media, I was able to post my commission needs to this populace, and ended up connecting with the write people. I enjoyed the process of this art commission so much I decided to break it down and share it with you. So, if you’ve ever wanted a look behind the curtain and see how book covers are created, here is your chance!
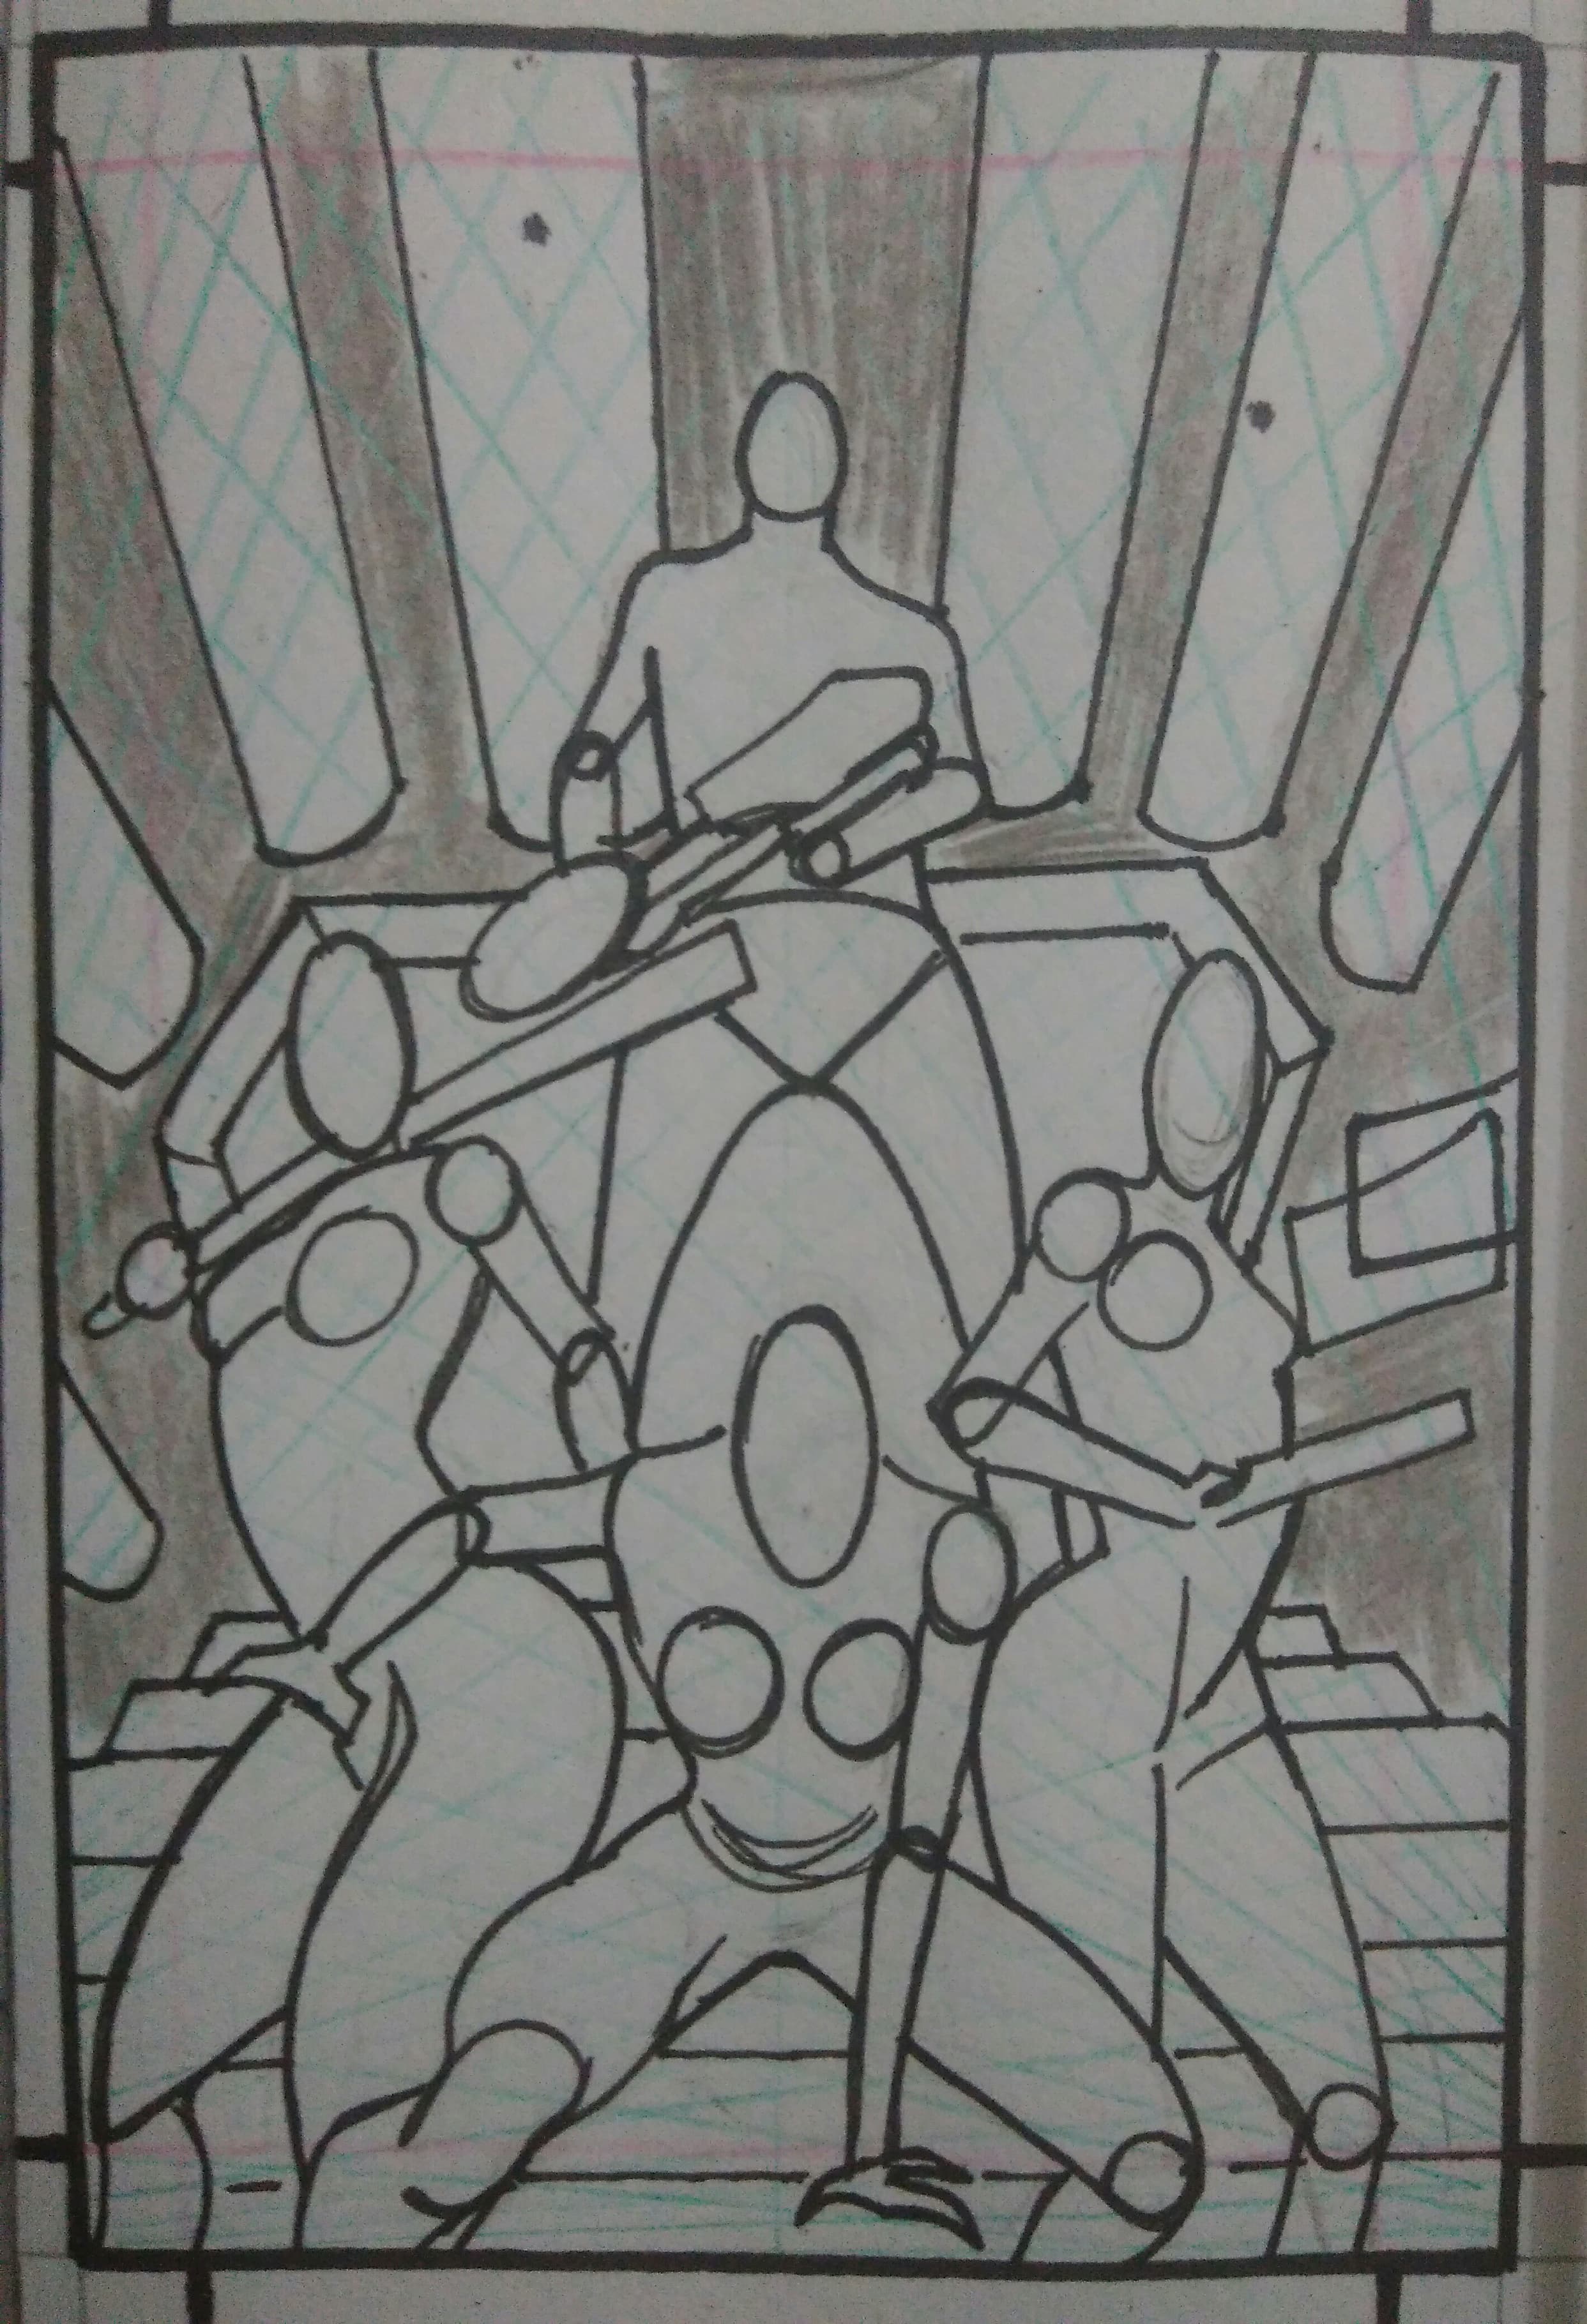

Step 1
Character and pose mock up.
The artist roughly sketches the characters that will be featured in the artwork, detailing where they will stand and how. There is very little detail here, but it isn’t needed yet. This step is merely to frame the image and confirm the intended visual of the writer is in line with the artist’s vision.
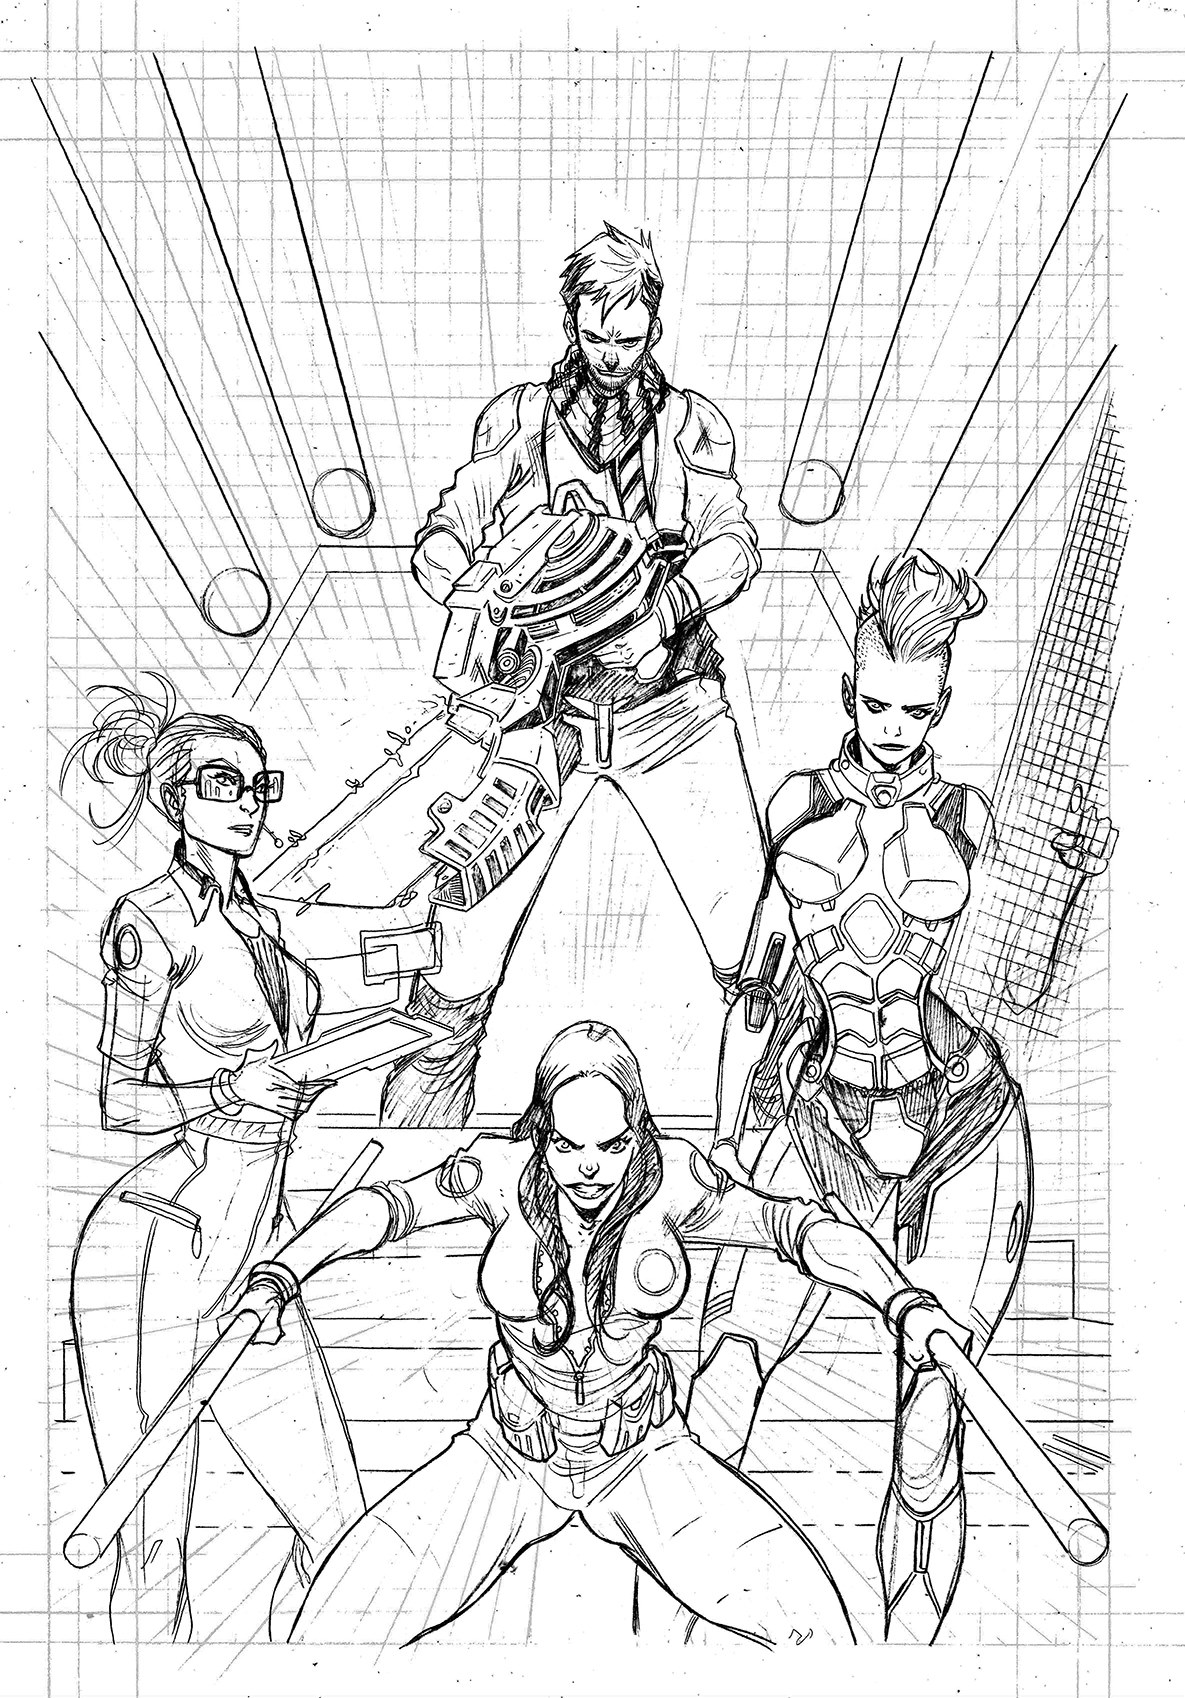
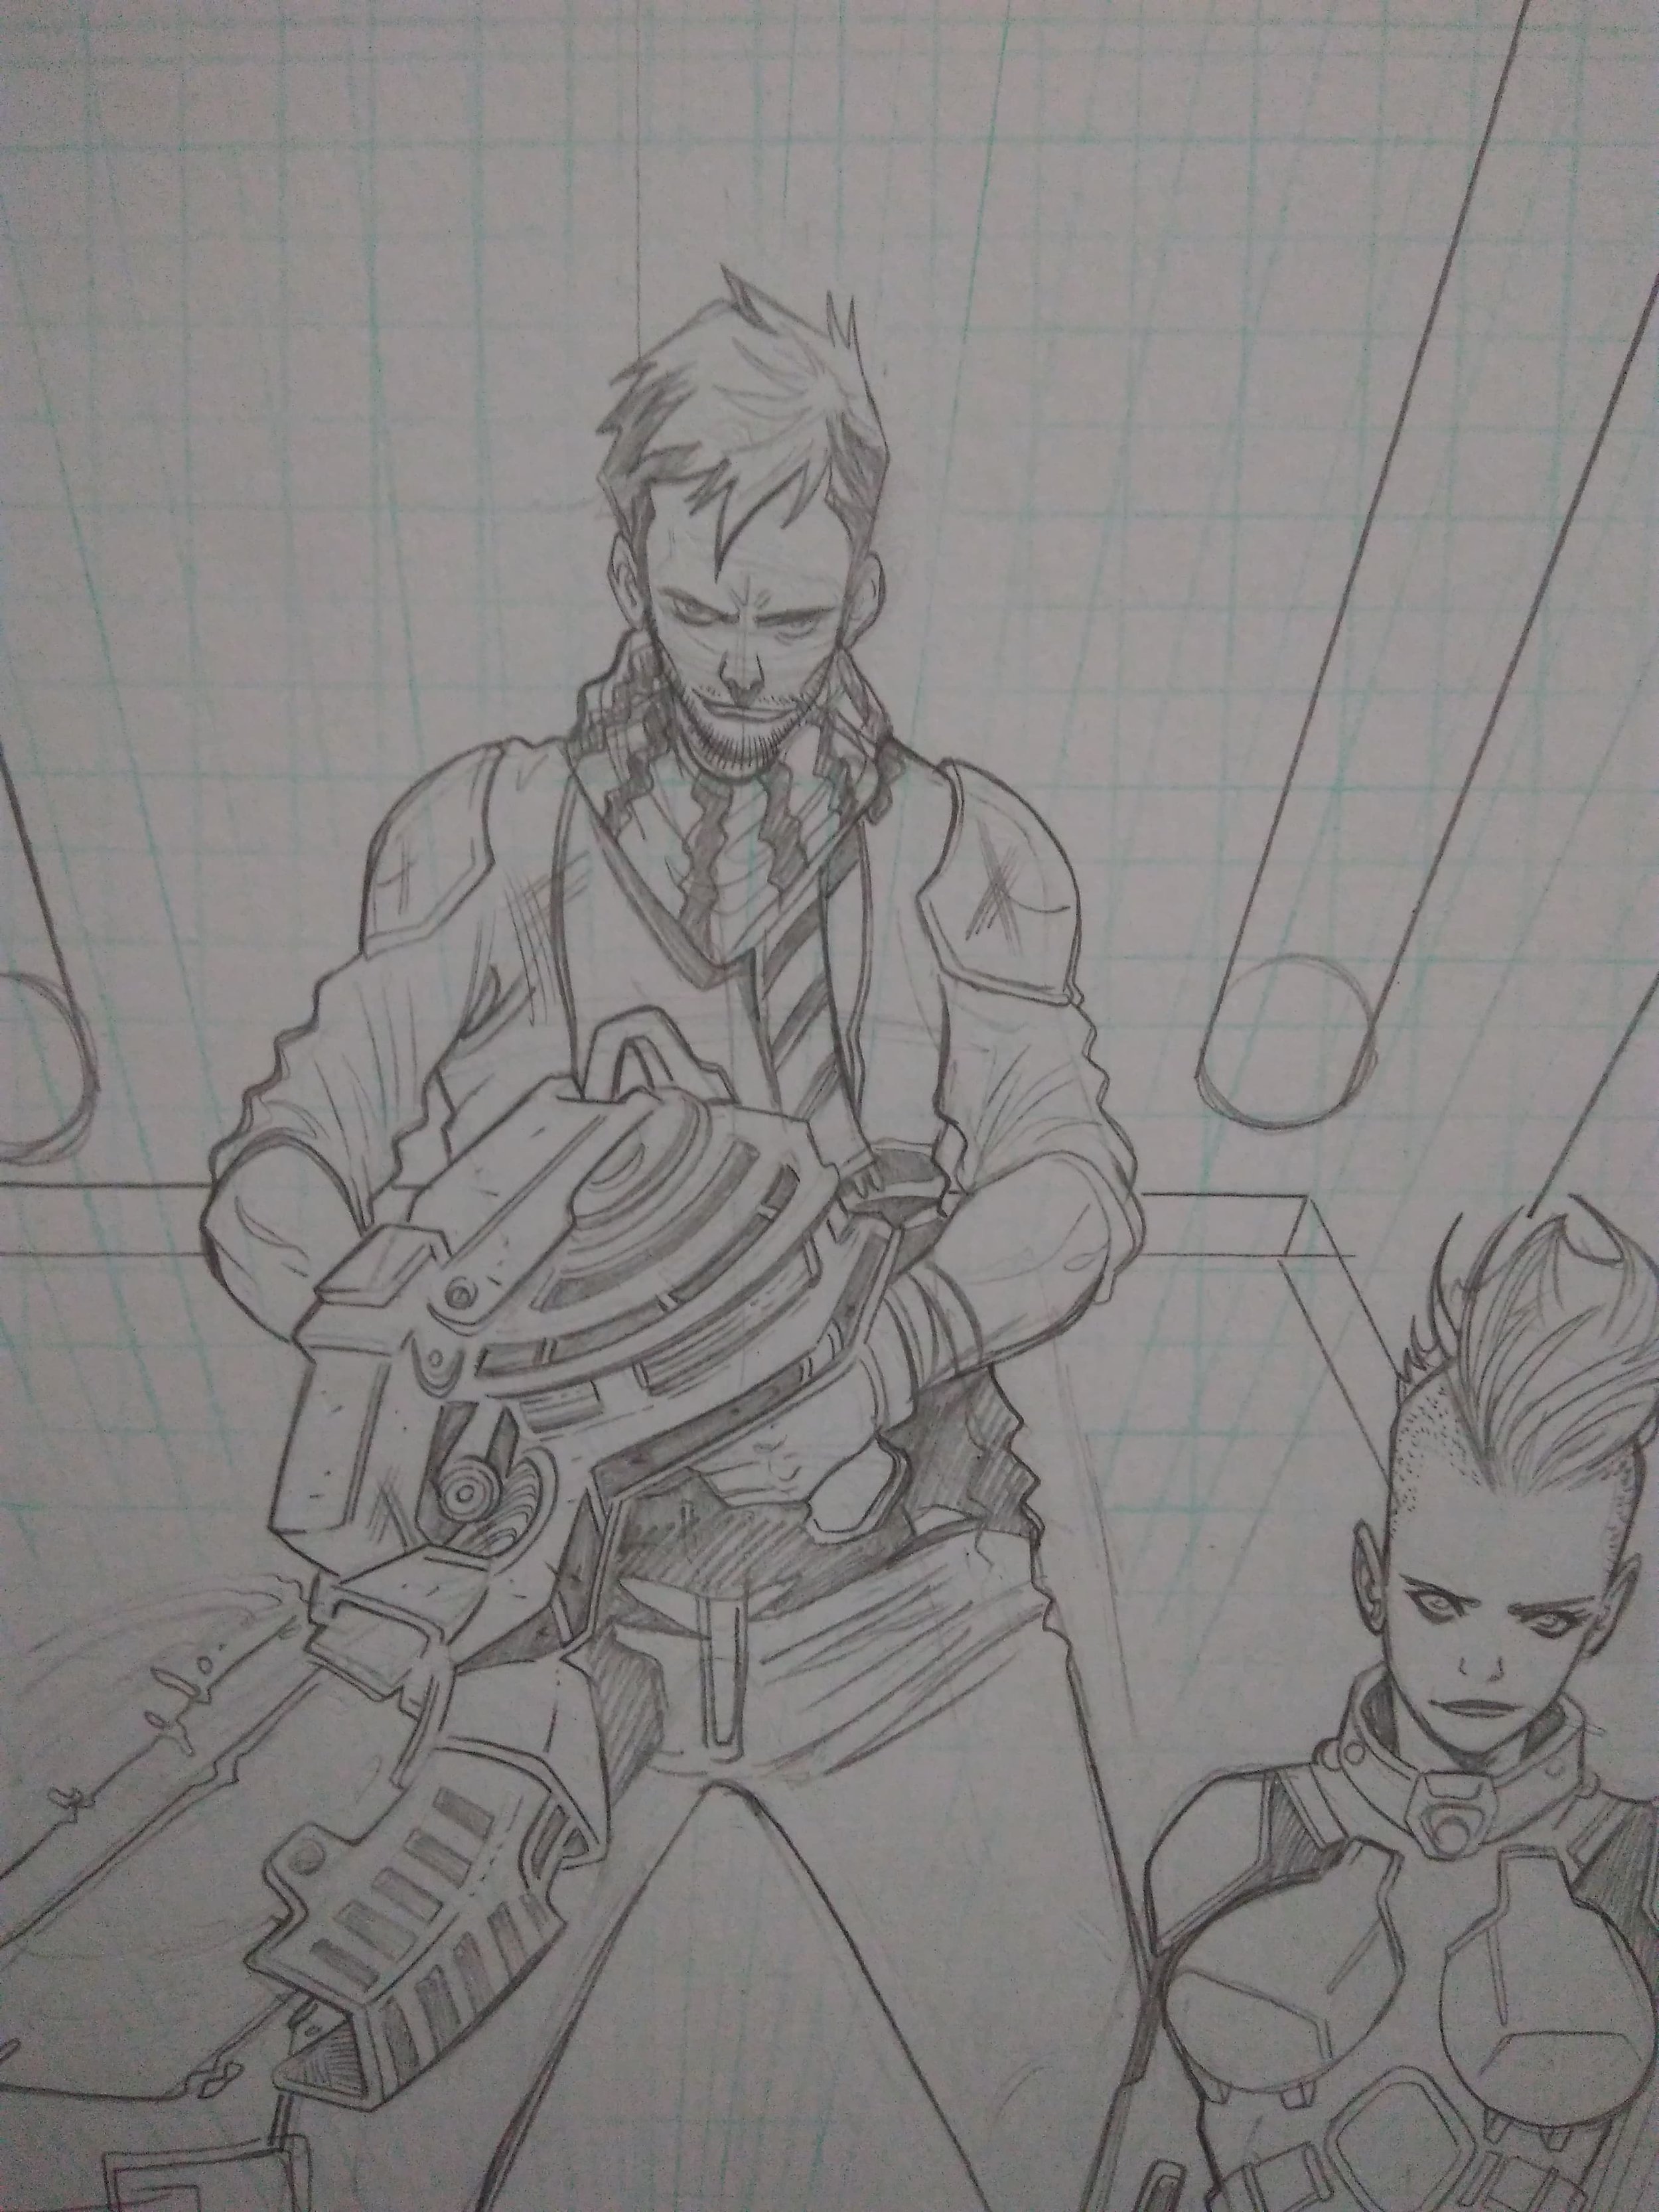
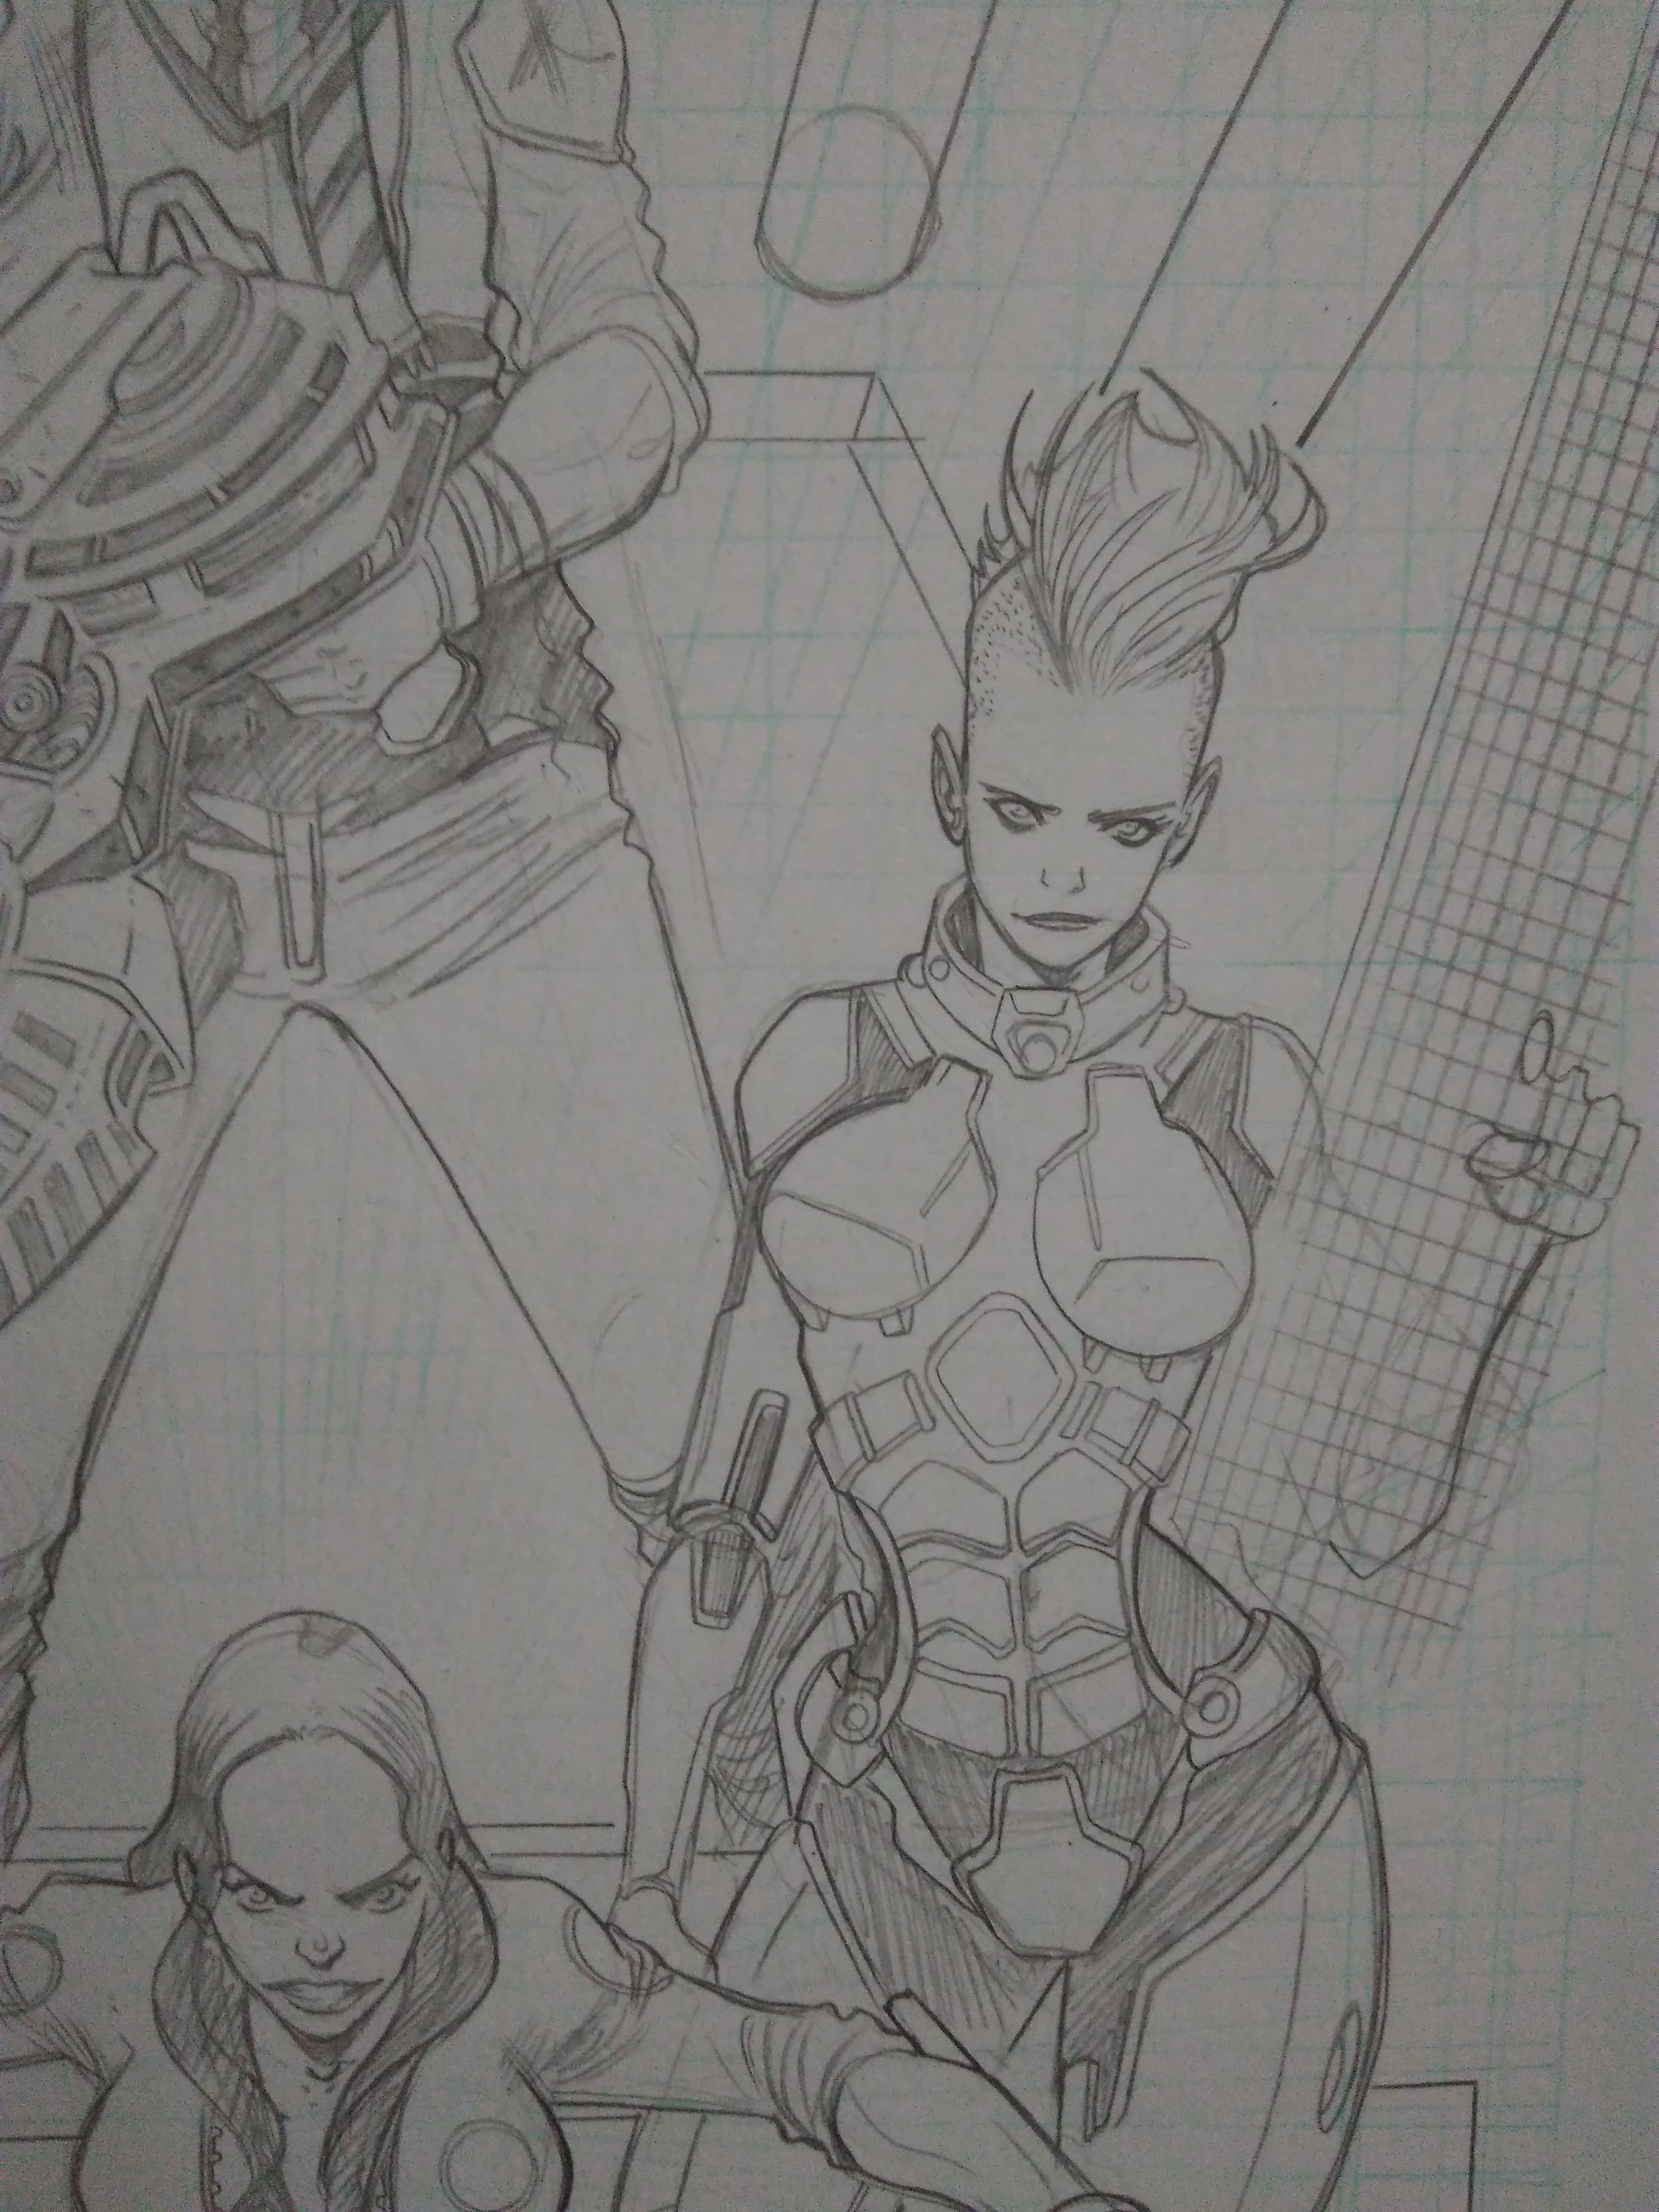
Step 2
Character detail
The second step is the detail phase, where the artist fleshes out the characters, filling in details and giving them form. For me, this is the coolest step in the process, as you get to watch undefined stick characters come to life, as if they materialize from your imagination.
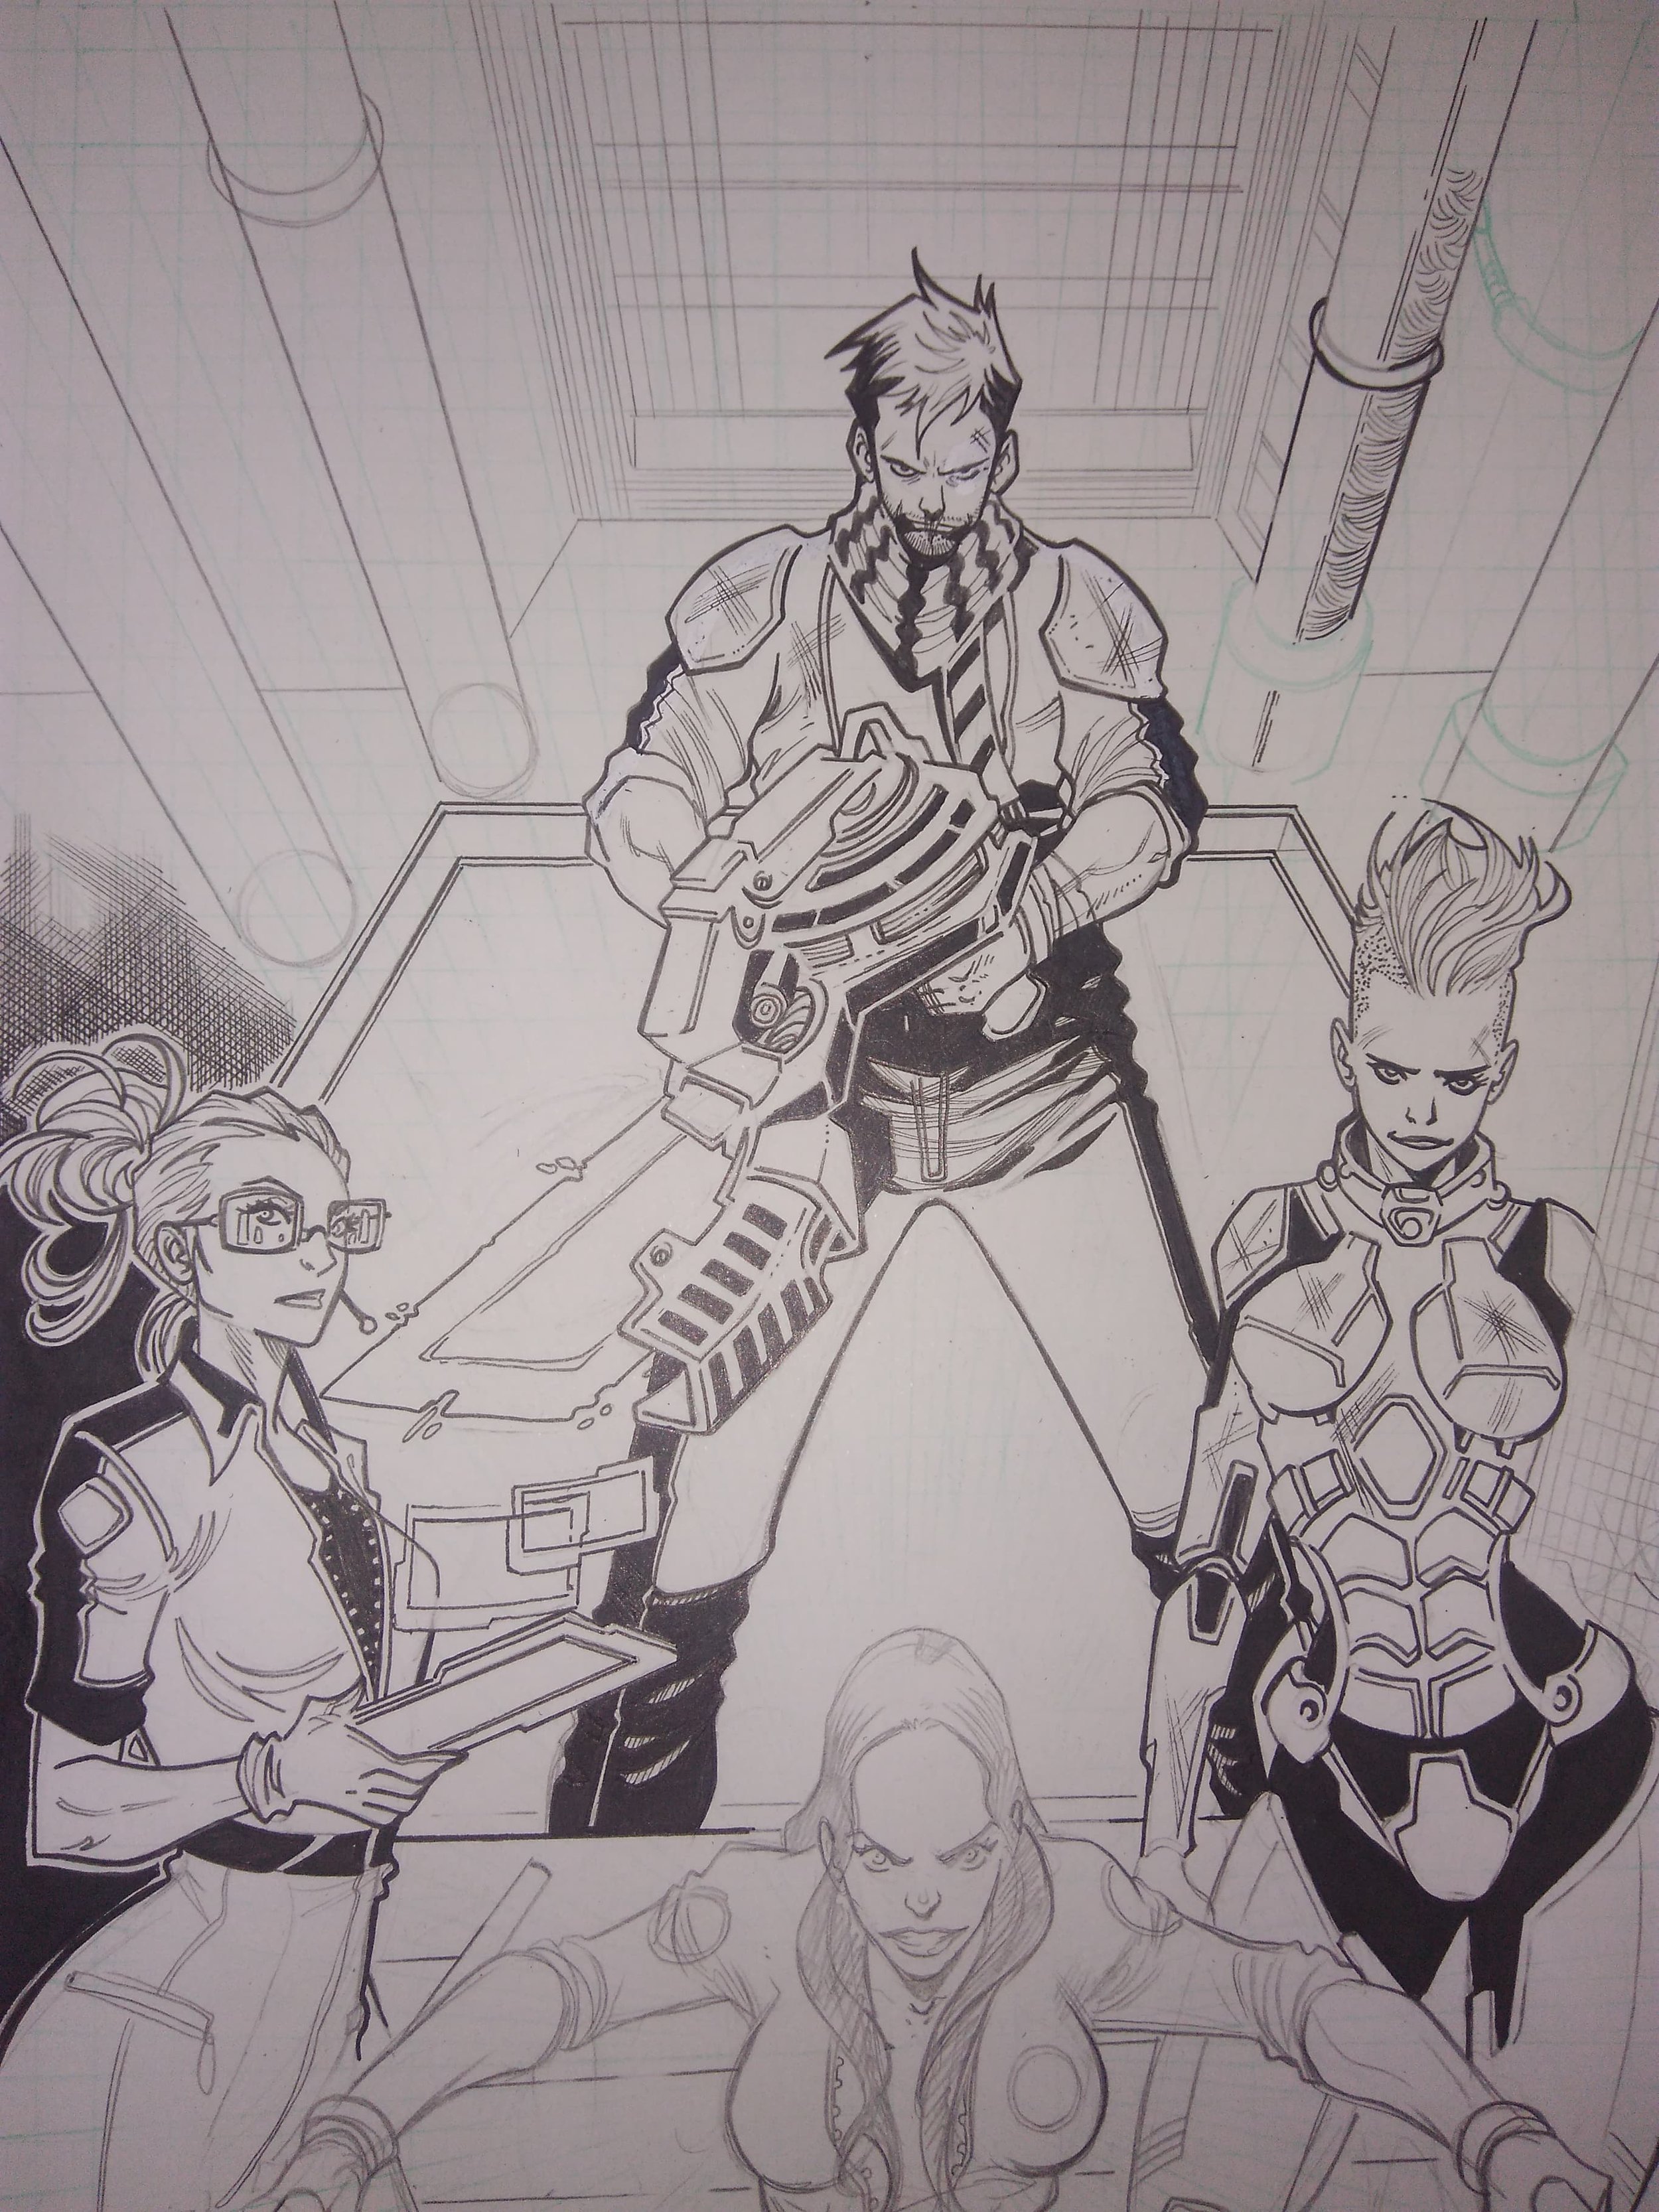
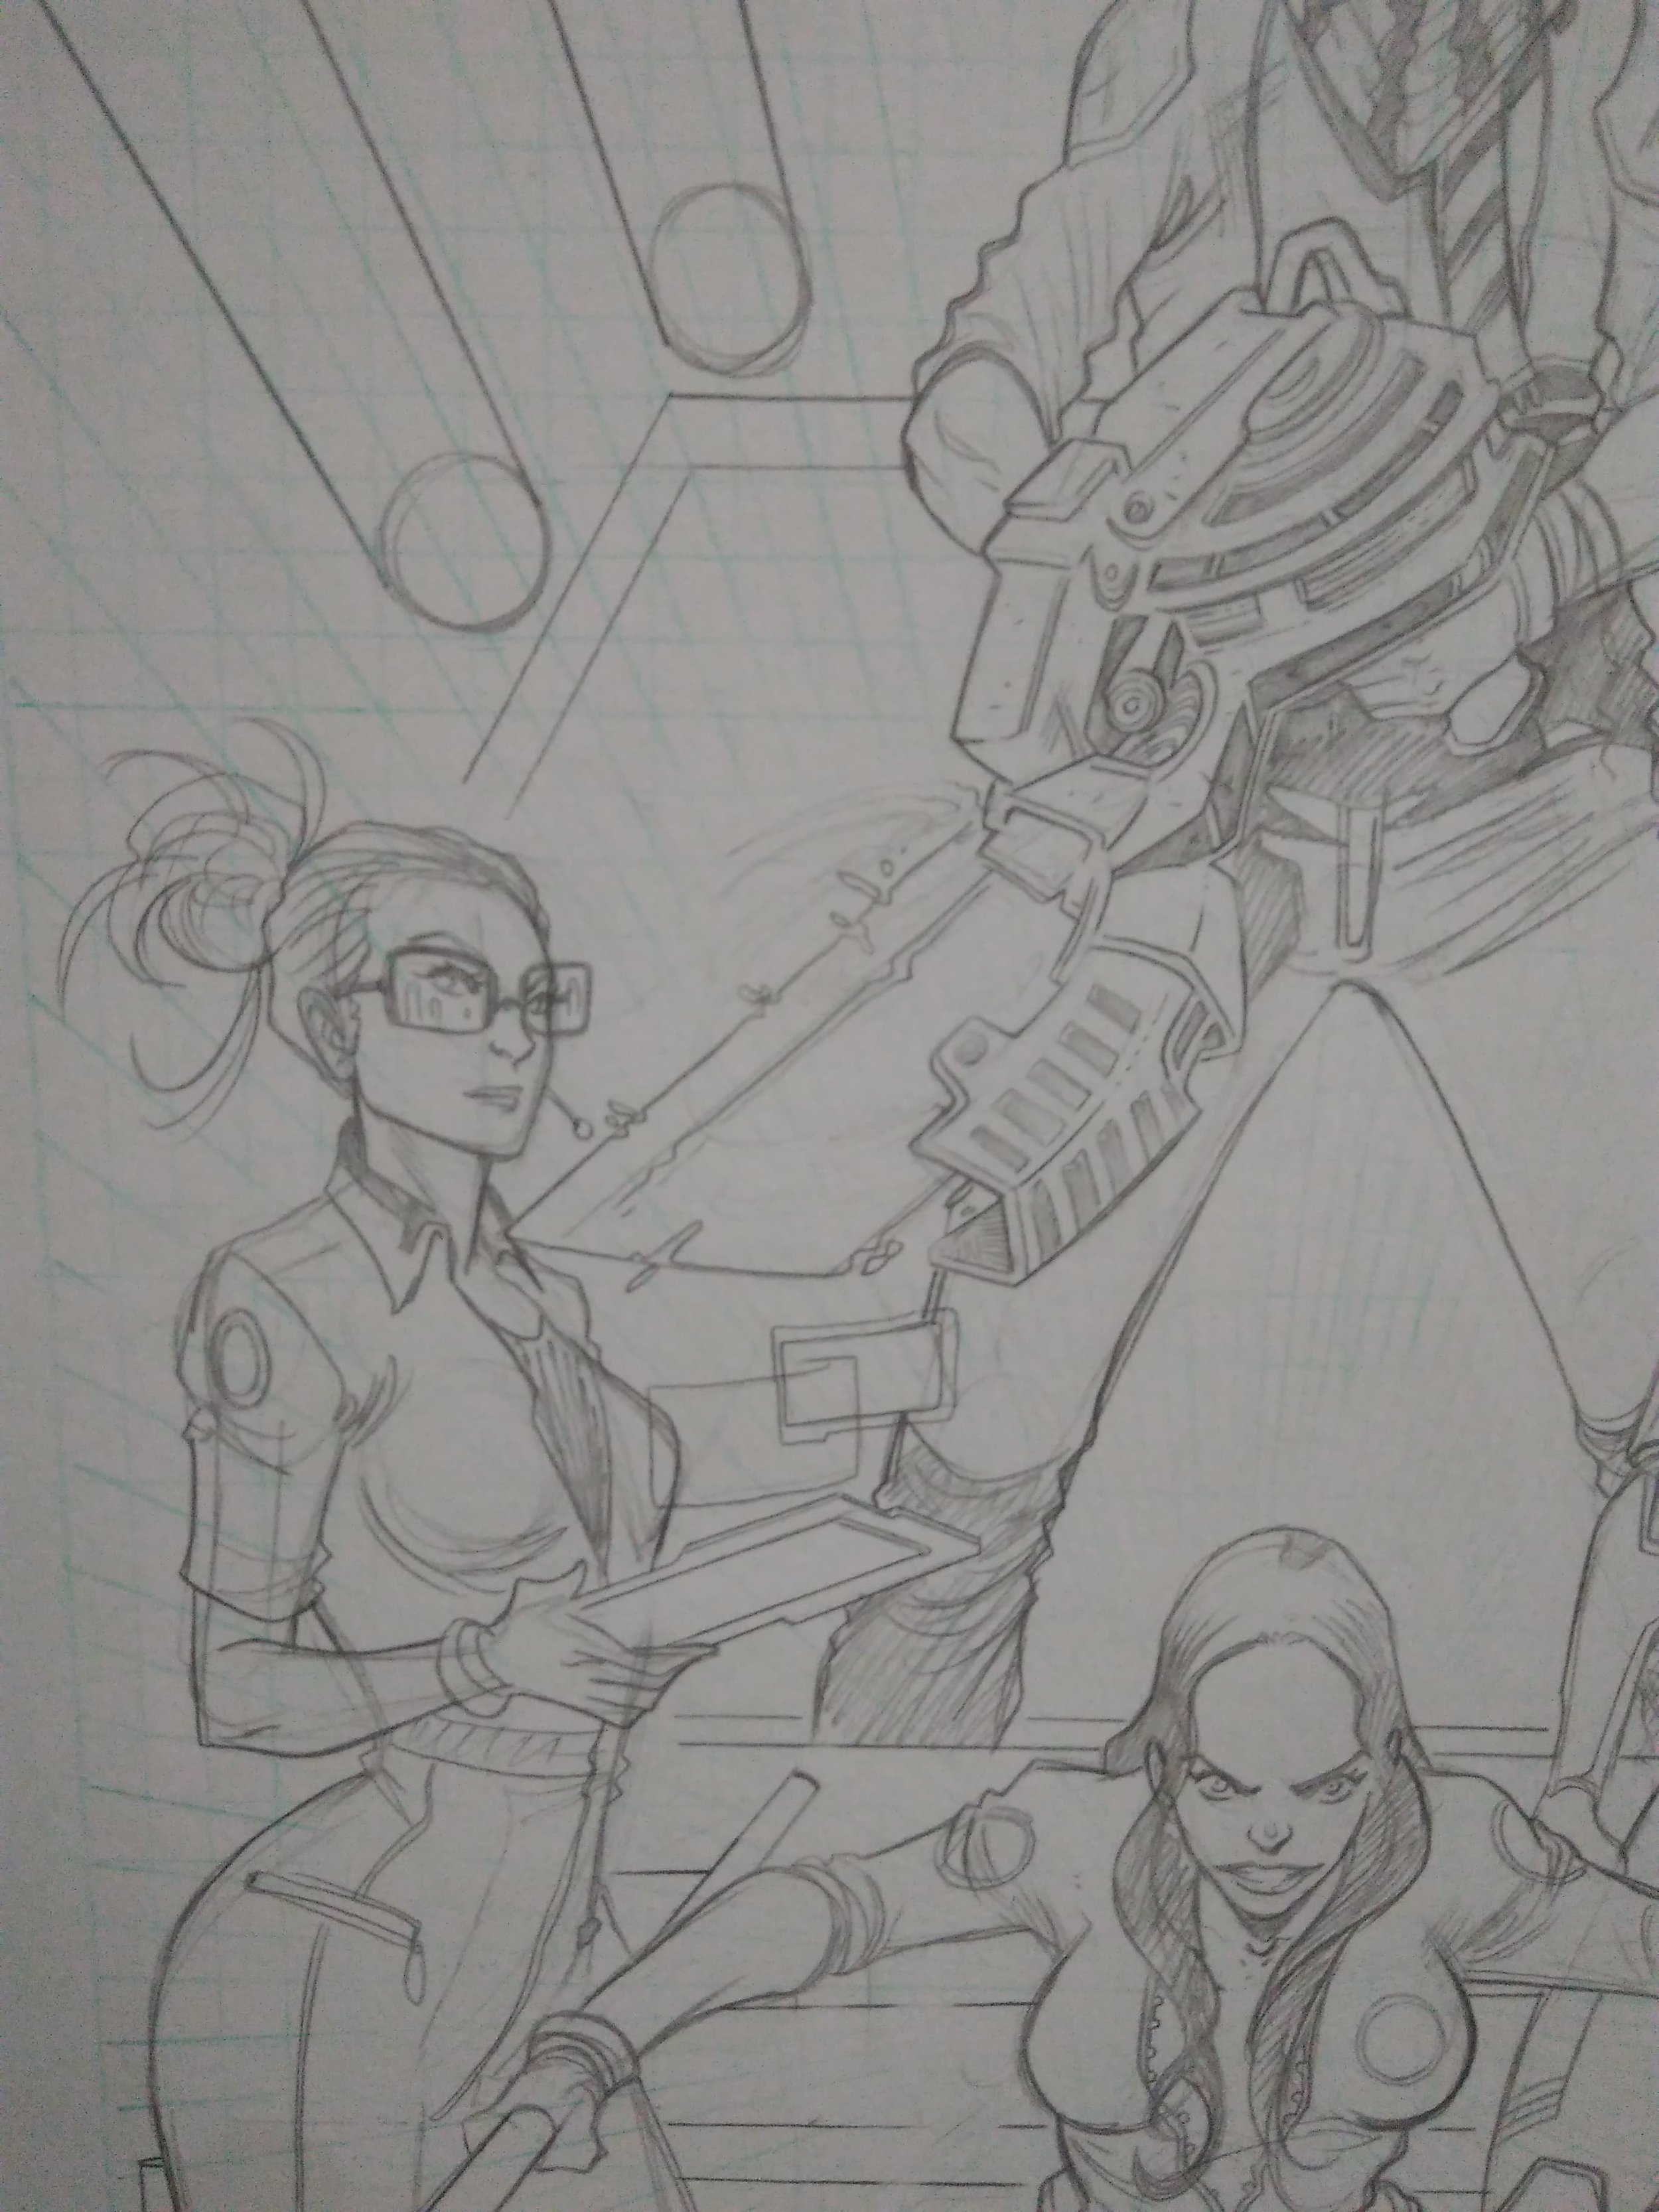
Step 3
Depth, shade, and ink
The third phase allows the artist to make small adjustments to the characters designs, and start to add depth to the image by adding shadow, shade, and darken previously undefined areas. This step is really cool, because it looks like the characters are starting to pull off the page, gaining substance.
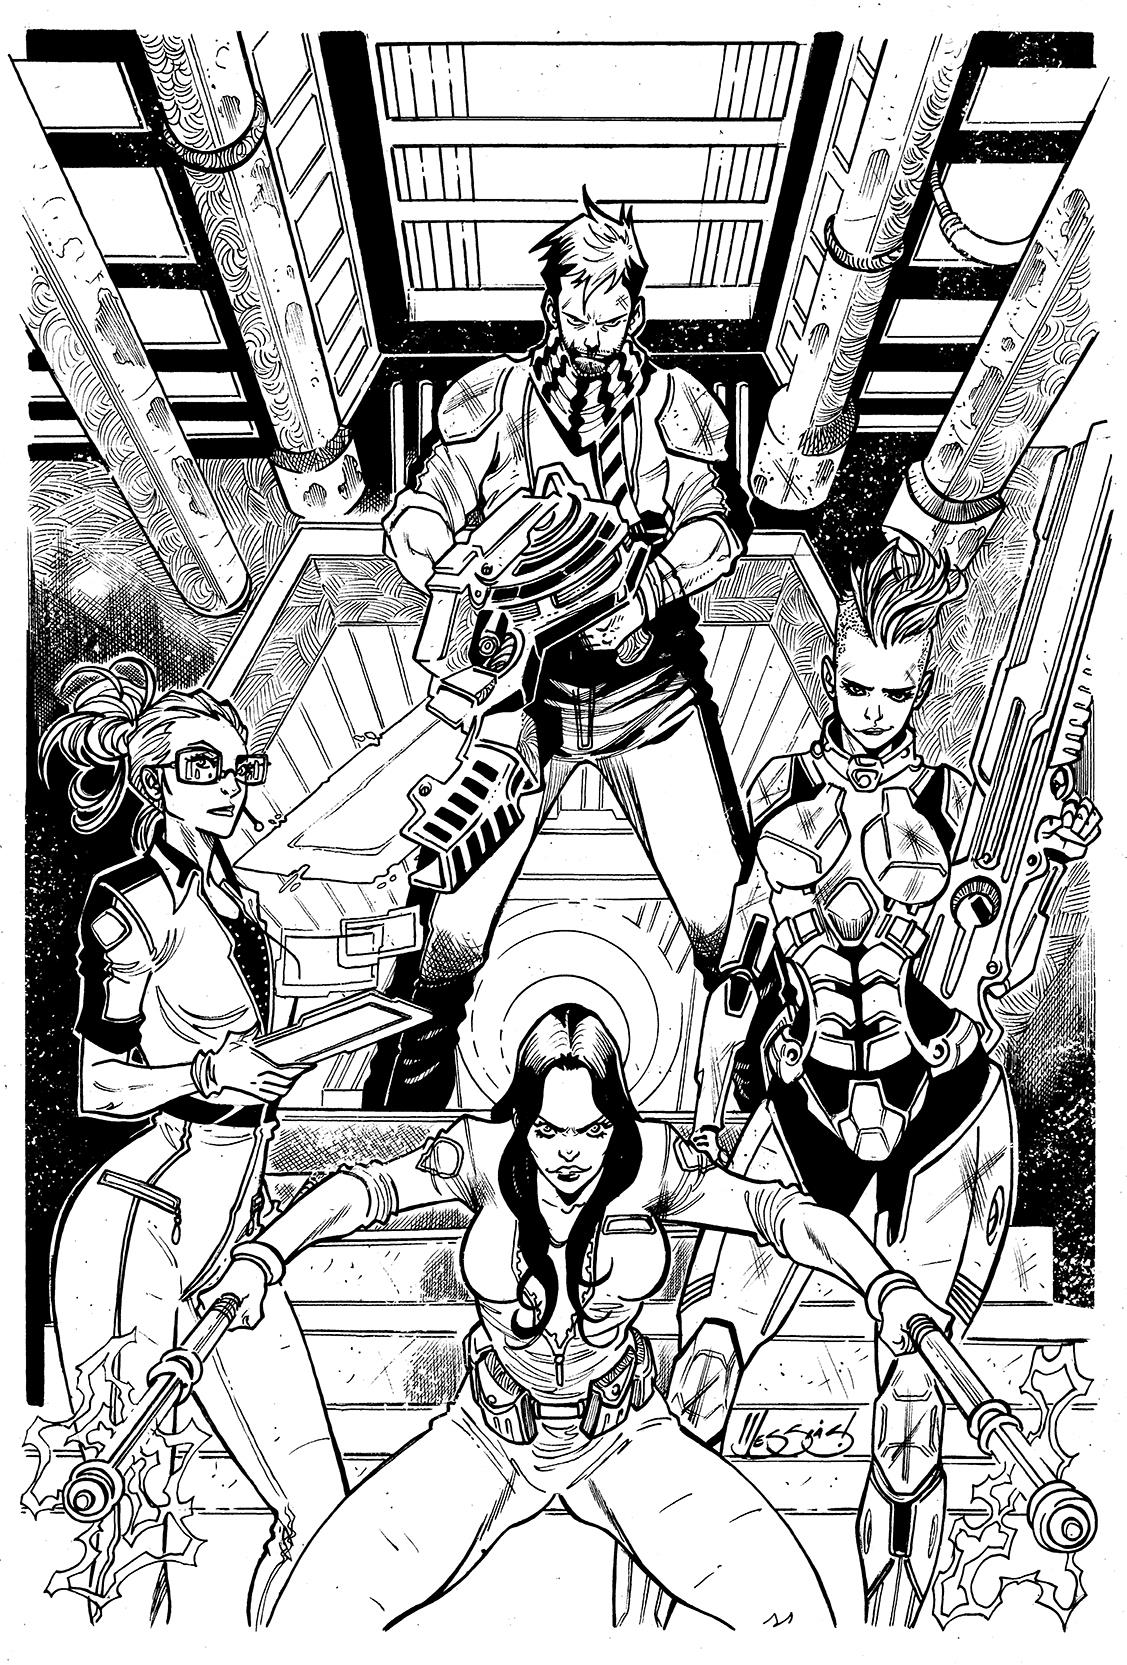
Step 4
Final Pencil
Step 4 affords a finished pencil drawing. All characters and details are finished, lines are darkened or inked, and shading, and shadow is completed. Additional texture is added and the background is filled out. I could see why some would choose to stop at this step, as for a black and white book, this would make some kick butt artwork!

Step 5
Initial Colorization
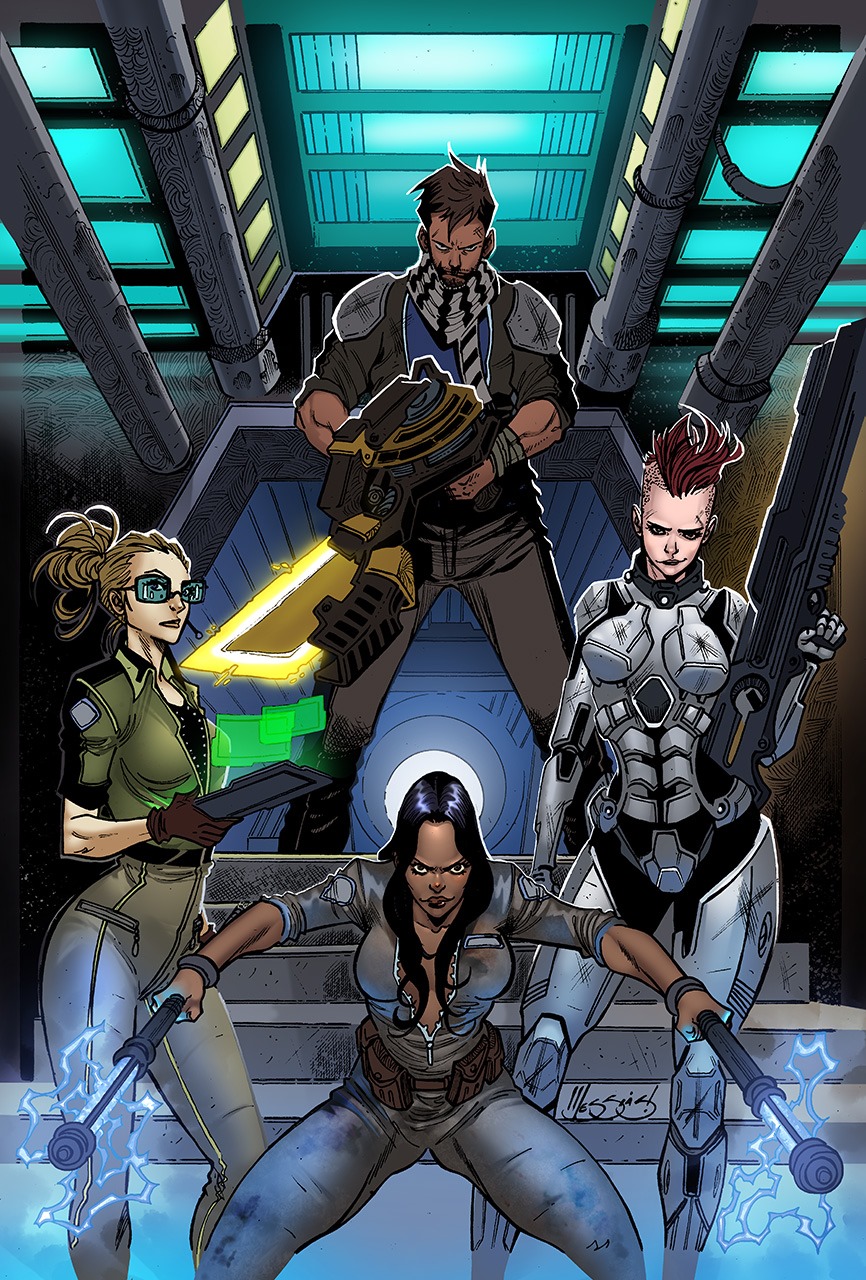
Step 5 sees the pencil art go to the colorist. This is where you send comps and ideas for clothing color, background theme, tone, lighting, etc. The image on the left is the first draft of the colored image. I sent back some edits, specifically Lex (the gal on the right with the awesome rifle) and requested that her hair be more red. You can see the slight variations in the art, as color is refined and changed. Lighting is modified and the background starts to come to life.

Step 6
Typography and Graphic Design
Once you’ve approved the final colored version of the art, it is sent to a graphic designer for typography. My designer’s initial concern was the amount of artwork on page, and how to place title and author name without covering up too much. Our compromise was isolating Jacoby’s (my main character) head, and using layers to have the title appear behind him. This works nicely, as the font and color used appear to glow, working nicely with the light sourcing used in the artwork. As you can see, from idea, to concept, and from draft to draft, cover art can be process of adaptation, compromise, and discovery. I put my vision in the hands of multiple artists, and in the end, received more than I ever hoped.
Unleashed is finished. The manuscript is now handed off to my advanced/Beta readers. I am awaiting their feedback and will make edits accordingly. The book will then go through edits/proofing, and formatting, before finally being approved for release.